A pipette tip that drips, draws bubbles, delivers too little liquid, or sits unevenly on the cone may have a fit problem. But the tip is not always the only cause. An incorrect tip-pipette combination, a worn pipette seal, damaged plastic, mounting technique, liquid properties, or an unsuitable operating method can produce similar symptoms.
The fastest way to solve the problem is to isolate the failure, not to press the tip on harder. These eight checks move from the most common compatibility and handling issues to instrument service and method validation.
1. Confirm the exact pipette and tip combination
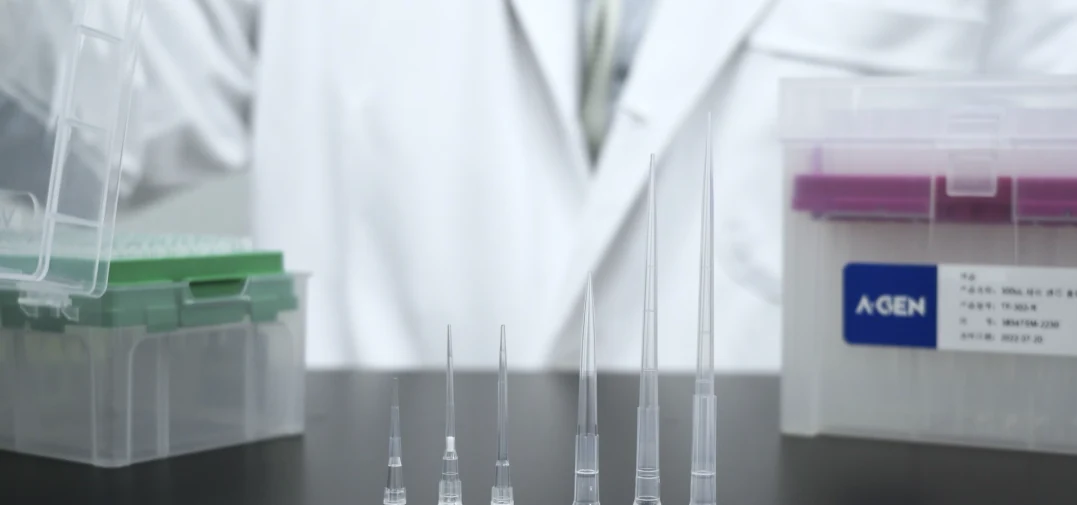
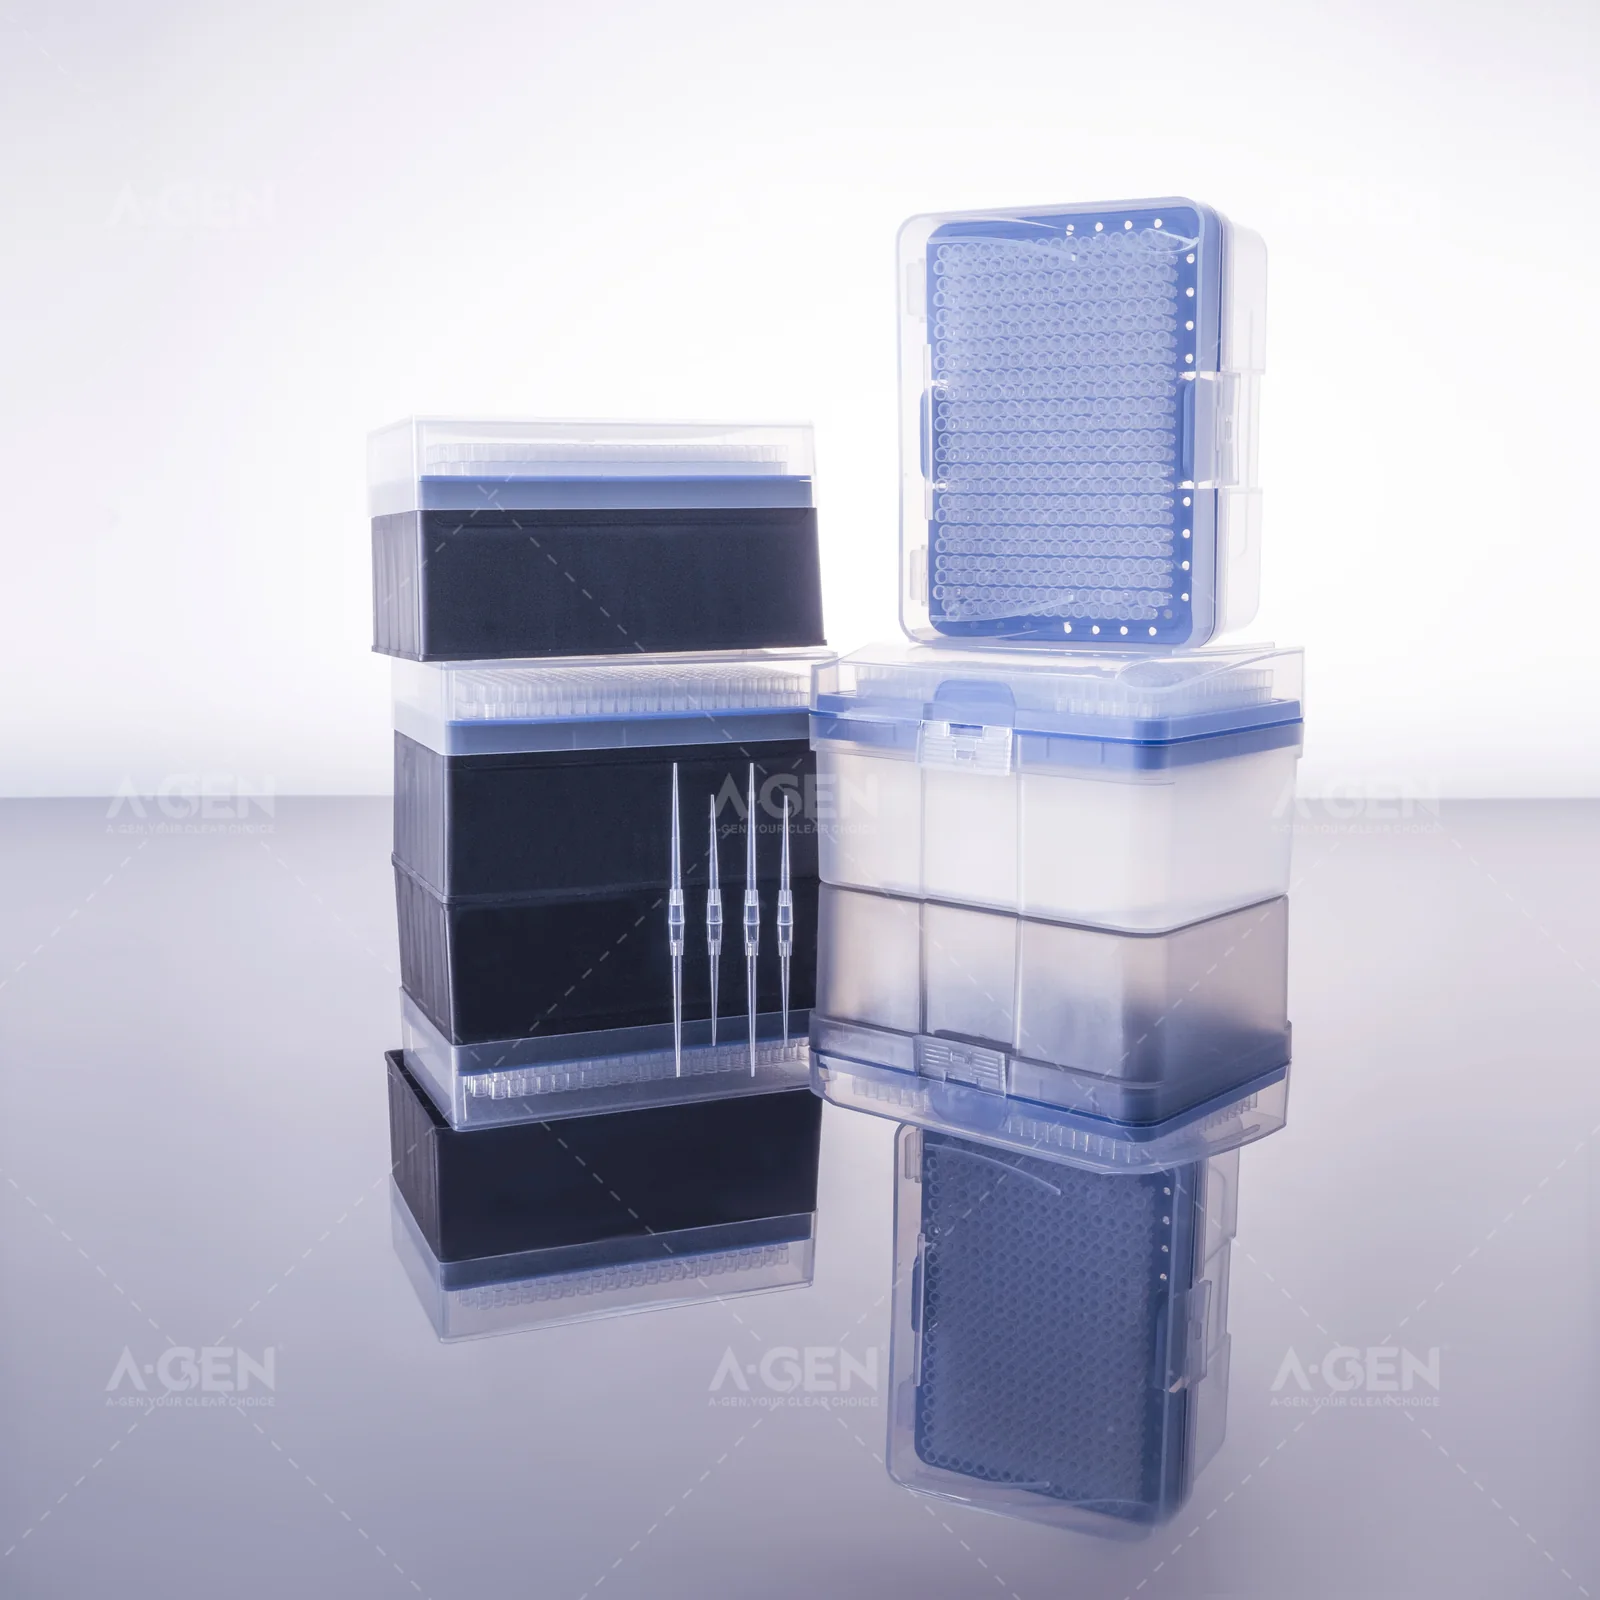
“Universal” is a product-family description, not proof that every tip will seal on every pipette model and generation. Cone geometry, mounting depth, and ejection design can differ. Start by recording the pipette manufacturer, model, channel count, nominal volume range, and the exact tip catalog number.
If a supplier publishes compatibility information, make sure it names the actual model rather than only the brand. A-GEN presents brand-specific pipette tips for selected pipettes as an option where model matching is important and links poor fit with leakage or liquid retention. The family page is useful for shortlisting, but an individual item still needs to be confirmed against the laboratory’s pipette.
2. Inspect how the tip seats on the cone
A correctly mounted tip should sit straight and remain stable during aspiration and dispensing. It should not wobble, tilt, or release with light contact. On a multichannel pipette, compare all channels: an uneven row can reveal inconsistent seating before liquid is aspirated.
Use the mounting method stated by the pipette manufacturer. Repeatedly hammering the pipette into a rack or twisting with excessive force can damage tips, racks, or the instrument and may make ejection difficult. More force is not a reliable fix for incompatible geometry.
3. Check the tip for physical defects or rack damage
Look for cracks around the collar, deformation, flash, an irregular opening, or a tip that was bent in the rack. Confirm that the rack has not been dropped, compressed, or exposed to conditions outside its storage instructions.
Compare several tips from different rack positions. If the failure follows one position, the rack or a subset of tips may be involved. If the same pipette channel fails across several racks, inspect the instrument instead. Keep the lot number and packaging so the observation can be traced.
4. Distinguish an air leak from liquid retained on the wall
A droplet left in the tip is not automatically an air leak. Surface tension, viscosity, foaming, aspiration speed, and inadequate dispense timing can leave liquid behind even when the tip-pipette seal is sound.
Run a simple controlled observation with a suitable test liquid. Aspirate slowly, hold the pipette vertically, and watch the liquid column for a defined period without moving the plunger. Bubbles entering at the top of the liquid column, a falling meniscus, or inconsistent aspiration can indicate a sealing or instrument problem. Residue that remains only after dispensing may point instead to liquid properties, technique, or the need to evaluate a low-retention format.
Do not use this visual check as calibration evidence. It is a troubleshooting step that helps decide what to test next.
5. Inspect the pipette cone, seal, and piston system
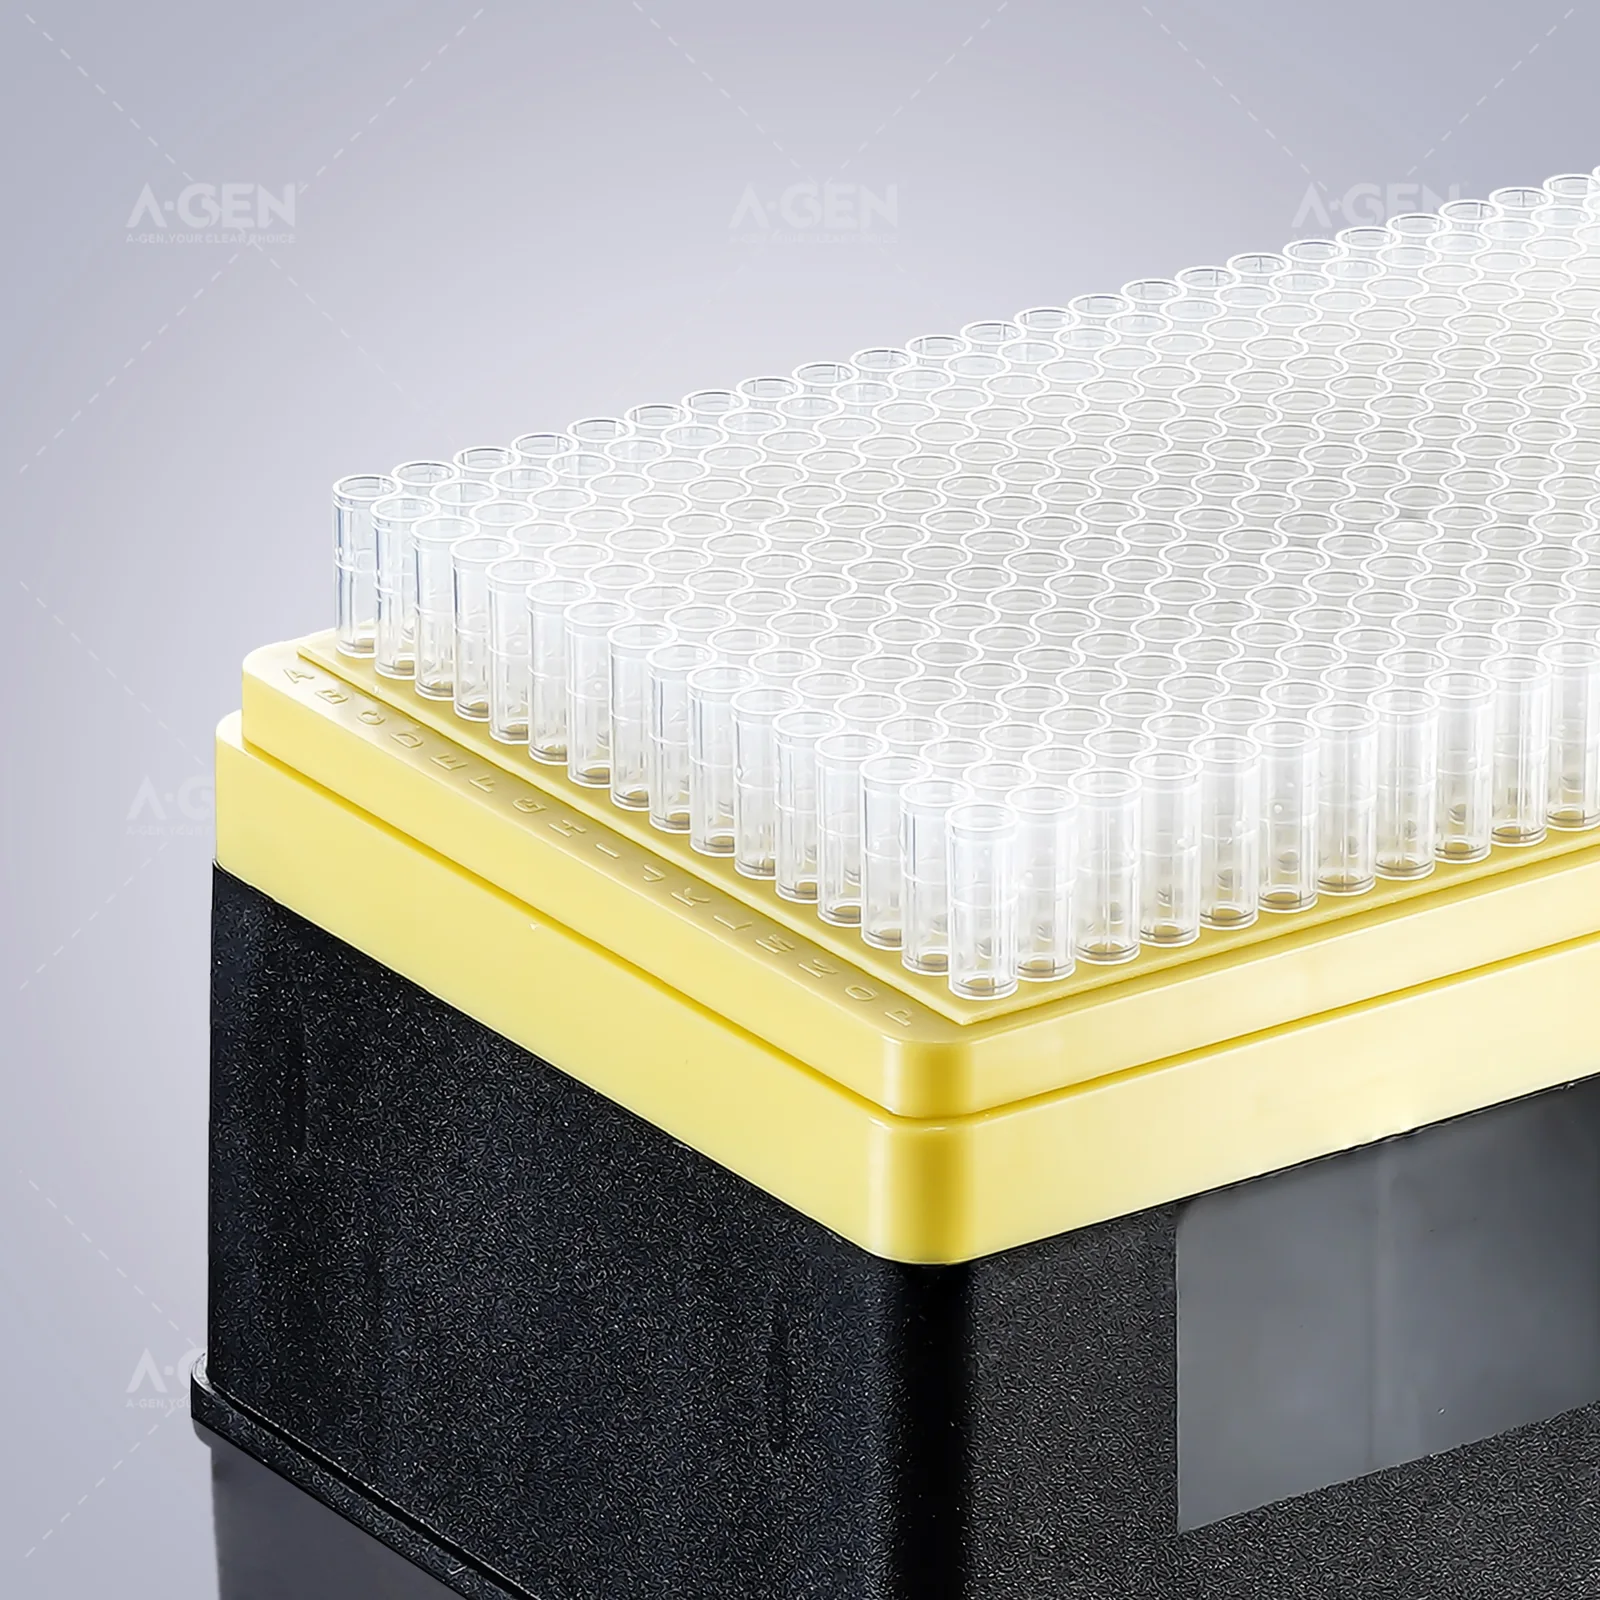
Contamination, scratches, or wear on the cone can prevent a uniform seal. Internal seals and piston components can also wear. Clean and inspect the pipette only as permitted by its operating instructions; do not apply unapproved lubricants or disassemble parts outside the laboratory’s service procedure.
If several compatible tip lots leak on the same pipette, or only one channel fails on a multichannel unit, remove the instrument from quantitative work and arrange an appropriate leak check, maintenance, or calibration service. Replacing tips repeatedly will not correct an instrument fault.
6. Check whether the liquid and technique are creating the symptom
Viscous liquids enter and leave the tip slowly. Volatile liquids can expand in the air cushion. Foaming liquids can produce bubbles even with an intact seal. For these samples, define aspiration speed, immersion depth, pipette angle, stabilization pause, and dispense technique rather than treating every bubble or droplet as poor tip fit.
Pre-wetting, slower operation, reverse pipetting, or a positive-displacement system may be worth evaluating, depending on the pipette instructions and method. None of these options should be introduced without a documented comparison at the actual volume and sample conditions.
7. Verify volume range, filter status, and tip format
An incorrect nominal volume or an overfilled tip can resemble leakage. Check that the transfer volume is within both the pipette range and the stated tip capacity. A filter occupies space and should not be wetted; a long or narrow tip may require different timing from a standard format.
The A-GEN universal pipette tip family lists multiple volume, retention, filter, and packaging options. Use those attributes to identify a candidate format, then confirm the exact catalog item and model fit. Do not infer compatibility from capacity or an image alone.
8. Run a small, traceable comparison
Once obvious defects are excluded, compare the current tip with one confirmed alternative. Keep the pipette, operator, target volume, liquid, temperature, and technique constant. Record:
- tip and pipette identifiers;
- rack position and lot number;
- mounting and ejection behavior;
- visible bubbles, dripping or residue;
- repeated delivered-volume results using a suitable method;
- which channel failed, if applicable.
This comparison separates a one-off damaged tip from a repeatable compatibility or instrument problem. If the alternative tip resolves the symptom, the result still applies only to the tested pipette, volume, and method until broader qualification is completed.
A quick failure-pattern guide
| Observation | More likely areas to check first | Do not assume |
|---|---|---|
| Tip wobbles or sits crooked | Tip-cone geometry, mounting method, damaged collar | That additional force will create a valid seal |
| All tips slowly drip on one pipette | Pipette seal, cone, piston system, service status | That every tip lot is defective |
| One multichannel position under-delivers | Channel-specific cone or seal, uneven seating | That the liquid or operator is the only cause |
| Bubbles appear with viscous liquid | Aspiration speed, pause, immersion depth, then seal | That bubbles prove a cracked tip |
| Liquid remains after dispensing | Liquid properties, timing, retention surface, tip format | That wall residue proves an air leak |
| Failures cluster in one rack position | Tip or rack damage, handling, lot traceability | That the full product family is incompatible |
When should the team stop troubleshooting and escalate?
Stop quantitative work with the affected setup when the liquid column will not remain stable, delivery is outside the method’s acceptance limits, a cone or tip is visibly damaged, or one channel repeatedly behaves differently. Quarantine the suspect rack if a product defect is plausible and preserve its lot information.
For an A-GEN candidate, contact A-GEN with the exact pipette model, target volume, and observed failure. Ask for an exact catalog recommendation and any available model-specific fit information before ordering qualification samples. This is more useful than asking whether a family is “universal.”
Frequently asked questions
Can I fix a leaking tip by pushing it on harder?
Not reliably. Excessive mounting force can damage the consumable or instrument and may make ejection difficult. Confirm compatibility and use the manufacturer’s mounting method.
Why does only one channel leak on a multichannel pipette?
Uneven seating, a damaged tip, or a channel-specific cone or internal seal can cause the pattern. Swap rack positions and use confirmed compatible tips to determine whether the failure follows the tip or remains with the channel.
Does liquid left in the tip always mean a poor seal?
No. Retention can result from liquid properties and dispensing technique. Diagnose wall residue separately from a falling liquid column or air entering during aspiration.
Should I choose a brand-specific or universal tip?
Choose the exact tip that has been confirmed for the pipette and passes the laboratory’s application test. A brand-specific family may narrow the fit question; a universal family may offer useful formats. Neither label replaces model-level confirmation.
Conclusion
Pipette tips leak or fit poorly when the tip, pipette or method no longer forms a controlled transfer system. Confirm the exact combination, inspect seating and damage, separate air leakage from liquid retention, check the instrument, then run a traceable comparison. The goal is not simply to stop a visible drip; it is to restore repeatable delivery with a documented, qualified setup.